Newburg, WI 53060
Mon–Fri: 9:00 AM–4:00 PM
If you’re looking for a long-lasting alternative to traditional exterior paint in Wisconsin, proper installation is just as important as the coating itself. At Rhino Shield of Wisconsin, we use a proven 11-step installation process that helps protect homes from harsh Wisconsin weather, including snow, ice, rain, wind, humidity, and UV damage.
Our ceramic exterior coating system is designed to outperform conventional paint by providing superior durability, weather resistance, and long-term protection. Every Rhino Shield project begins with thorough preparation and ends with a detailed final inspection to ensure the highest level of quality.
Whether your home is in Milwaukee, Madison, Green Bay, Appleton, Kenosha, or anywhere in Wisconsin, our certified installation team is committed to delivering beautiful, lasting results that homeowners can trust for years to come.

Wisconsin homeowners face unique exterior challenges, including:
A properly installed Rhino Shield coating system creates a durable protective barrier that helps resist cracking, peeling, chipping, fading, and moisture penetration.
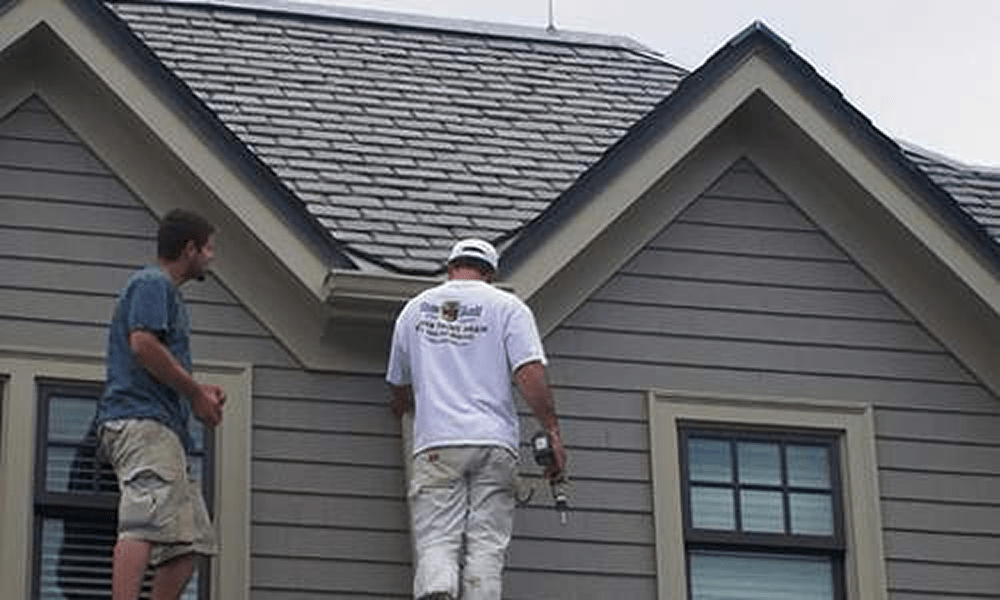
Before any work begins, our Wisconsin Rhino Shield specialists perform a thorough inspection of your home’s exterior.
During the inspection, we evaluate:
We then develop a customized installation plan outlining labor needs, repair recommendations, project timeline, and equipment requirements.
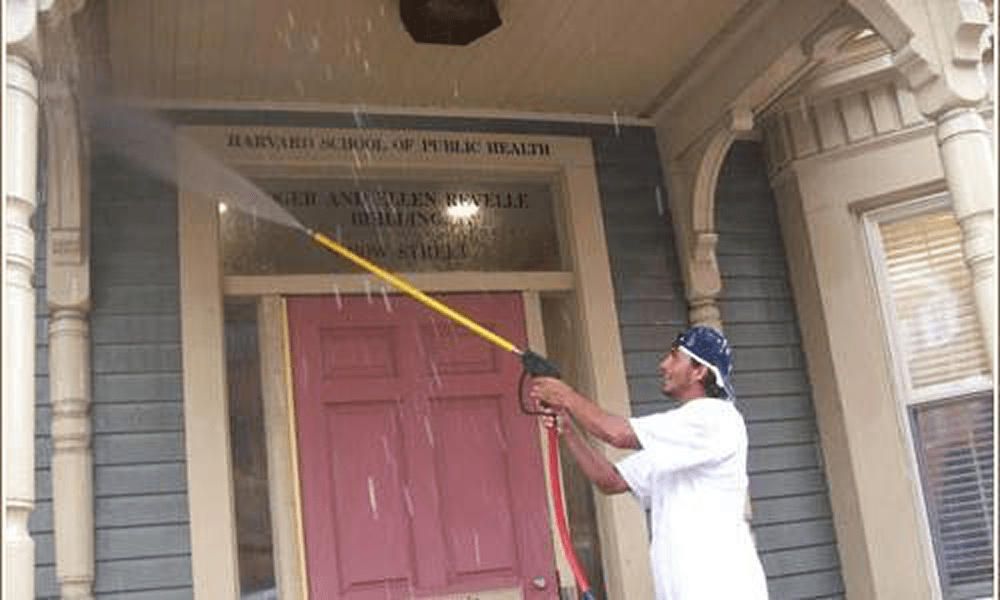
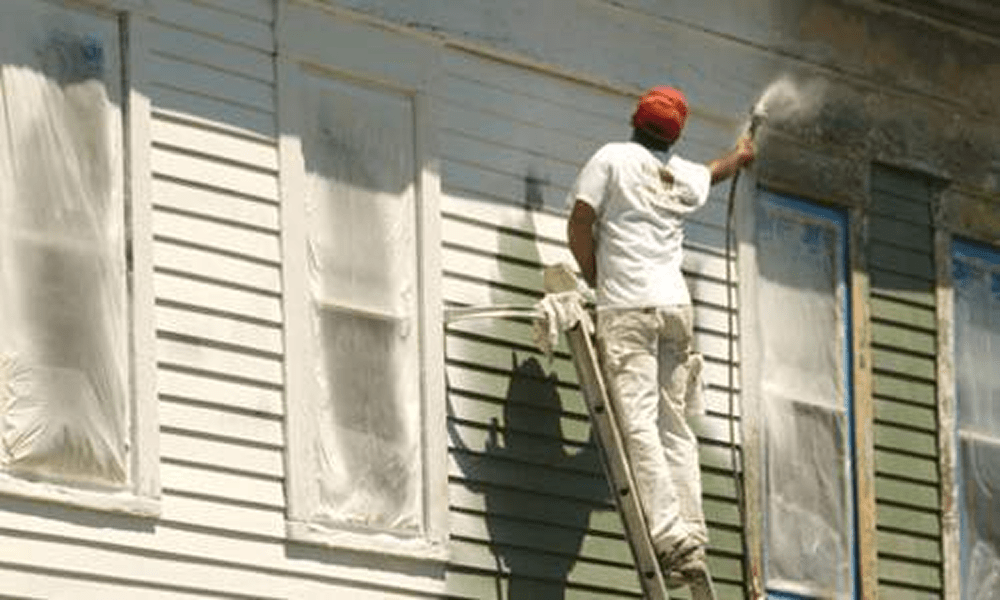
A clean surface is critical for proper adhesion.
Our team thoroughly cleans the exterior using professional-grade pressure washing equipment to remove:
This preparation step ensures the Rhino Shield coating bonds properly and performs as intended for years to come.
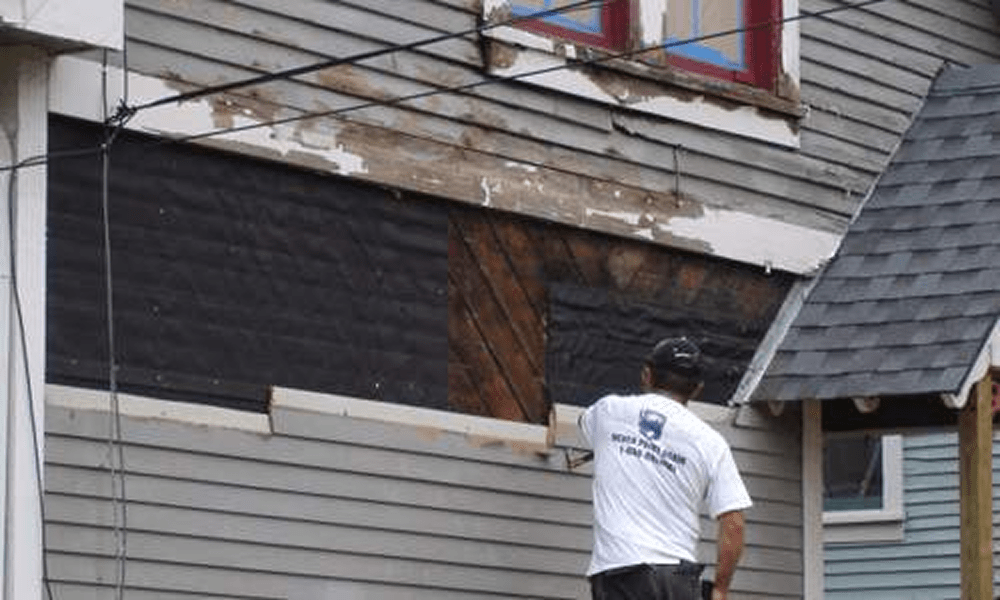
Before coating application, damaged areas are repaired or replaced.
Common repairs include:
Our goal is to restore the surface to a sound condition before applying the coating system.
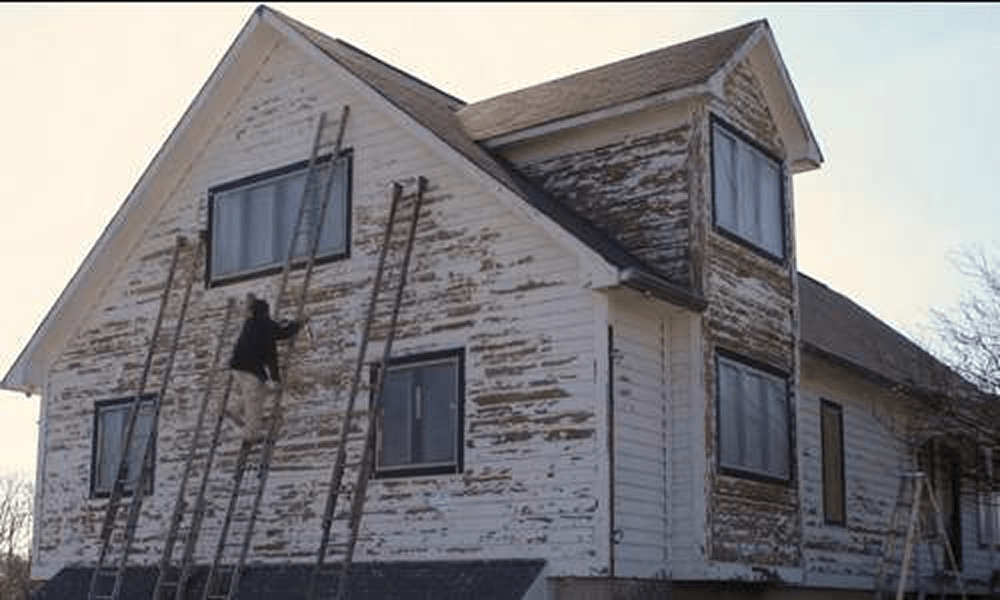
For homes with peeling or failing paint, loose materials must be removed.
Our preparation process may include:
Creating a stable, bondable surface is essential for maximum coating performance.
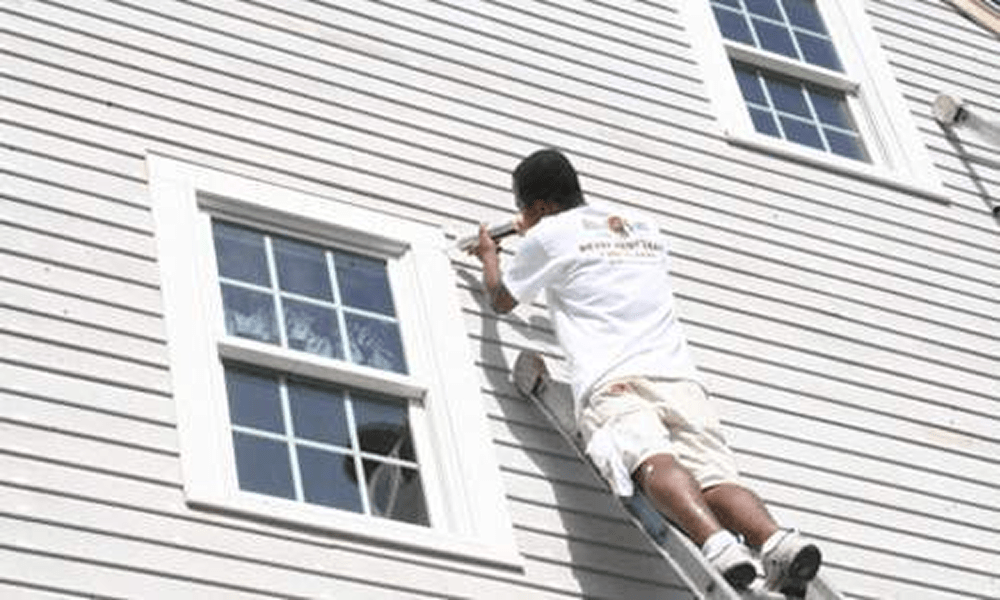
Caulking plays a major role in protecting Wisconsin homes from moisture intrusion.
Our installation team applies high-performance acrylic elastomeric caulk around:
Old, cracked, or failing caulk is removed and replaced where necessary.
This step helps prevent water infiltration and improves the overall weather resistance of your home.
Areas not being coated may be masked off, covered, or temporarily removed by the installation crew. Typical areas to be removed include light fixtures, signs, downspouts, window shutters, and mailboxes. Special attention is given to covering areas such as roofing, landscaping, lawns, decks, and other areas prone to windborne spray.

The next step in the Rhino Shield installation process is priming. We do a full area prime (not spot) to seal, improve water resistance, and provide a bonding agent for the ceramic finish coat. When applied, the primer-sealer is white in color but may dry to a clear finish depending upon the Rhino Shield system utilized.
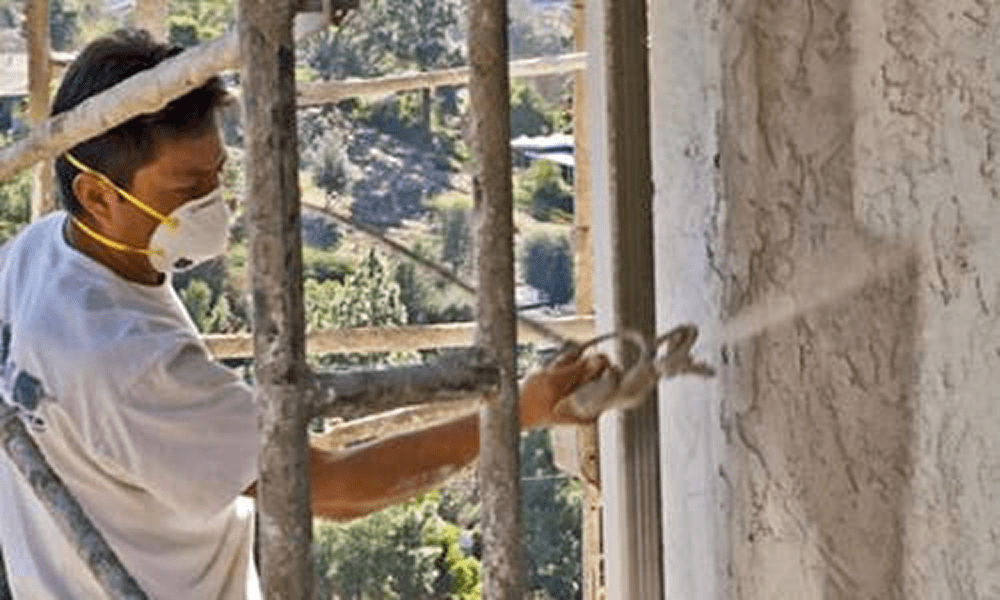
Once preparation is complete, the Rhino Shield ceramic coating is professionally applied.
Our coating is installed at a significantly higher film thickness than conventional paint, providing:
Available in thousands of color options, Rhino Shield allows Wisconsin homeowners to achieve the look they want while gaining unmatched protection.
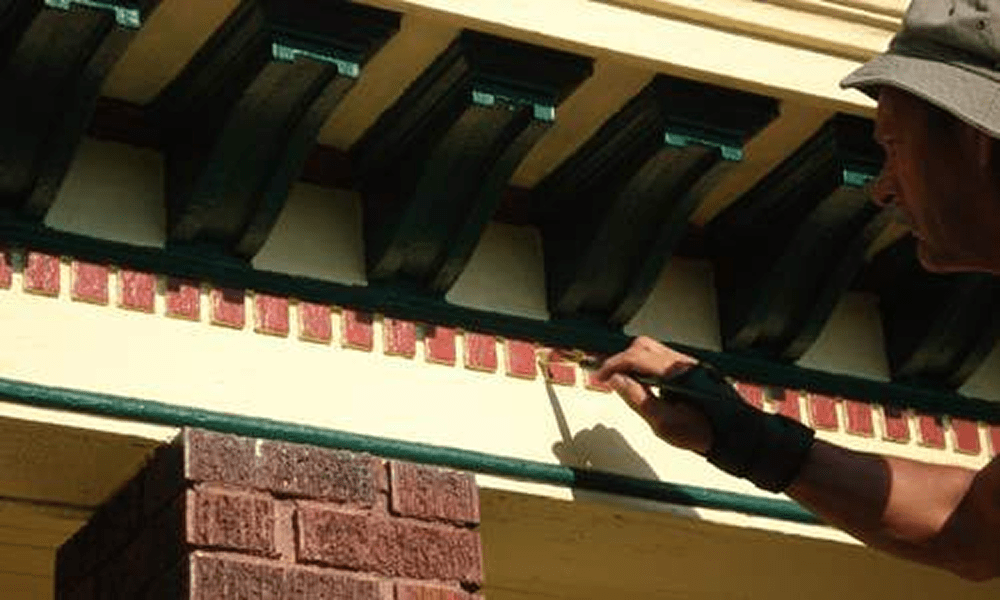
After the primary coating application, our team performs detailed finishing work.
This includes:
Every area is carefully reviewed to ensure a beautiful, consistent finish.
Respecting your property is part of every Rhino Shield project.
Our crews:
We leave your property looking clean and professional.

The final step is a complete inspection with the homeowner.
Together, we review:
Any remaining concerns are addressed before final project completion.
Your satisfaction is our top priority.
Whether your home is located in Milwaukee, Madison, Green Bay, Appleton, Eau Claire, Kenosha, Racine, Waukesha, Oshkosh, or anywhere throughout Wisconsin, Rhino Shield provides a long-lasting alternative to traditional exterior paint.
Rhino Shield is applied by trained and certified installers using a comprehensive process that includes inspection, cleaning, repairs, priming, and ceramic coating application.
Yes. Rhino Shield is typically spray-applied to achieve proper coating thickness. Certain areas may also be brushed or back-rolled when needed.
Rhino Shield is designed to withstand Wisconsin’s extreme climate and is backed by a 25-Year Limited Transferable Warranty.
Yes. Rhino Shield coatings are durable and can be safely pressure washed when proper techniques are used.
Can homeowners apply Rhino Shield themselves?
No. Rhino Shield products must be installed by authorized and trained Rhino Shield professionals to ensure performance and warranty compliance.
Rhino Shield can be applied to many exterior surfaces, including:
A professional inspection will determine the best coating system for your home.
Posted on GoogleTrustindex verifies that the original source of the review is Google. Very professional with great attention to detail from paintersPosted on GoogleTrustindex verifies that the original source of the review is Google. Carlos and his team did an excellent job!Posted on GoogleTrustindex verifies that the original source of the review is Google. Sales staff was flexible when meeting to discuss the project, pricing was fair, and crew worked hard to complete the project prior to an event we were planning. All staff was professional and respectful of our property. Very pleased with the results.Posted on GoogleTrustindex verifies that the original source of the review is Google. Excellent work by the crew. Very professional and good at what they do. Had no mishaps of any sort and the house looks way better now. If you have a wood sided house full or partial and don’t want to keep repainting every few years I highly recommend getting. Worth the money over new siding especially if you’re hiring out.Posted on GoogleTrustindex verifies that the original source of the review is Google. I’ve had the pleasure of working with the owners and their integrity, work ethic, professionalism, and attention to detail truly shines through in their business. If you are looking for reliable, professional coating services with a personal touch, this is the team to trust. They take pride in what they do and it shows in every project.Posted on GoogleTrustindex verifies that the original source of the review is Google. The crew that arrived were pleasant and easy to work with. Let us know the process each day and did a fabulous job! I would recommend them to everyone! Thank you for making it an easy process for us!Posted on GoogleTrustindex verifies that the original source of the review is Google. Great professional company to paint your house! Surface prep on stucco + old wood trim. Good cleanup and they got the job done and did not spend weeks messing around like other companies do.Posted on GoogleTrustindex verifies that the original source of the review is Google. House looks great and work was both timely and professionalPosted on GoogleTrustindex verifies that the original source of the review is Google. I'm very happy with the results and also the crew that did the job. They were very accommidating .
Learn how Rhino Shield can help protect your home from Wisconsin’s toughest weather conditions while reducing maintenance and improving curb appeal.
Book your Rhino Shield project today and save on the cost of frequent repainting. Backed by a 25-Year Transferable Warranty and designed to resist fading, peeling, and cracking.
Hurry! Offer expires in